Feeds:
Posts
Comments

blackberry lavender muffins

My nesting instinct has kicked into high gear. For the last couple months I’ve been squirreling away home-cooked food in the freezer and pantry, preparing for the long-distance sprint of the early weeks of parenthood when–I’ve been warned–we’ll live our lives in foggy 45 minute increments between feedings and diaper changes, lucky if we get a chance to shower or feed ourselves.

make ahead muffin ingredients

In my quest for foods that are comforting, nourishing, and most importantly can be eaten with one hand, I’ve found myself on a bit of a muffin bender. In lots of ways muffins are the perfect food. I’ve been tinkering with the recipe to sneak in a little whole wheat flour, cut back a bit on the sugar, and generally come up with something that I don’t feel (too) guilty about eating for breakfast every day. And now that I’ve got the basic recipe perfected–not too sweet, moist and cakey in the middle, crusty on the outside, golden brown on top–I’m having fun improvising with the flavors. Blackberry-lavender, mango-ginger, blueberry-almond…the possibilities are endless.

Blackberry muffins from the oven

Muffins are also the perfect thing to make early in the morning while the sun comes up. As my belly expands and the discomforts of pregnancy make it harder to sleep, I’ve been catching quite a few sunrises these days. (And I suspect there will be more sunrises to enjoy in my future, as the days of sleeping in are surely numbered.) Our kitchen faces east, and for some reason, it just feels right to be making muffins as I watch the marsh outside our windows change colors in the first light of day.

Mill Valley Sunrise

When I sit down with my coffee in those early morning hours, waiting for the muffins to puff up in the oven and to fill the house with their promising smell, I contemplate what the future holds. And not just the near-term future I mentioned above of exhausted days and sleepless nights. But the good stuff. The stuff that makes it all worth while. I wonder what he’ll be like. That little person growing inside me. What will it feel like to hold him in my arms? What will his personality be? Will he be serious, or funny, contemplative, fastidious? Will he look like his dad? What little quirks will he have? Will he someday stand on a stool next to me at the kitchen counter and crack the eggs and lick the muffin batter off the spoon? Which kind of muffins will be his favorite?

Delicious thoughts of anticipation as I wait patiently for those muffins in the oven…

Barefoot and pregnant with muffin

The Ultimate Muffin Base (and a few of my favorite variations below)

Adapted a bit from the Cook’s Illustrated Cookbook. Makes a dozen medium-sized muffins.

2 cups all-purpose flour
1 cup whole wheat flour
1 Tablespoon baking powder
1/2 teaspoon baking soda
1/2 teaspoon salt
ground spices (see variations)
1 cup plain yogurt (I used full fat versions, Greek or European style. If you try with low-fat, let me know how it works)
1/2 cup milk (I used 1% because that’s what we have in our fridge. If you use low-fat yogurt, you might need whole milk)
citrus zest, juice and/or grated ginger (see variations)
1/2 cup (1 stick) unsalted butter, softened slightly
1/4 cup white sugar
1/4 cup brown sugar
2 eggs
vanilla or other extract (see variations)
fresh fruit, dried fruit, and/or nuts (see variations)
extra sugar, spices and nuts for topping (see variations)

Pre-heat oven to 375 degrees and generously grease muffin tins with butter. Mix first five dry ingredients (plus spices, if using) in a medium bowl and set aside. Mix yogurt, milk (and zest/juice, if using) in small bowl and set aside.

Using a mixer (fitted with a paddle attachment, if you have a standing mixer), beat in a large bowl until fluffy: butter, white sugar and brown sugar. Beat in eggs, one at a time, and extract, if using. Turn mixer speed to low and mix in yogurt mixture and dry ingredients, alternating to fold in about 1/3 of each at a time, mixing gently until just blended. Turn off mixer and add fruit/nuts, gently folding in by hand.

Scoop muffin batter into greased muffin tins. (An ice cream scoop with a spring handle works wonders for keeping your portions even and minimizing drips.) Sprinkle the tops of muffins with sugar, spices, nuts (see variations.) Bake at 375 degrees for 20-25 minutes, until golden on top and a toothpick inserted into the center of a muffin comes out clean. Remove from oven and allow to rest in muffin tin for 3-4 minutes, but not too long–the texture will be better if they don’t steam in their tins for more than a few minutes. As soon as the tops of the muffins are cool enough to handle, run a butter knife around the edges of each muffin and gently pry them out and place on a cooling rack to cool.

Enjoy at least one while still warm (that’s a must!). For any that you don’t eat the same day you bake them, wrap in plastic and freeze. To re-heat, wrap muffins in tin foil, leaving the tops slightly exposed and heat in 325 degree oven ~15 min, or until warm in the center.

Variation #1: Mango Ginger Muffins

Follow recipe above, with these variations:

Add to dry ingredients: 2 teaspoons ground ginger, 1 teaspoon freshly ground nutmeg
Add to yogurt mixture: 1 teaspoon zest and a tablespoon or two of juice from an orange, 1 teaspoon freshly grated ginger
Add to batter after eggs: 1 teaspoon vanilla extract
Fold into batter by hand: 1 1/2-2 cups fresh diced mango (from about 2 medium-sized mangoes)
Mix in a small bowl and sprinkle on top of muffins before baking:2-3 tablespoons sugar (I like to use turbinado or raw sugar), 1/2 teaspoon ground ginger, 1/2 teaspoon ground nutmeg

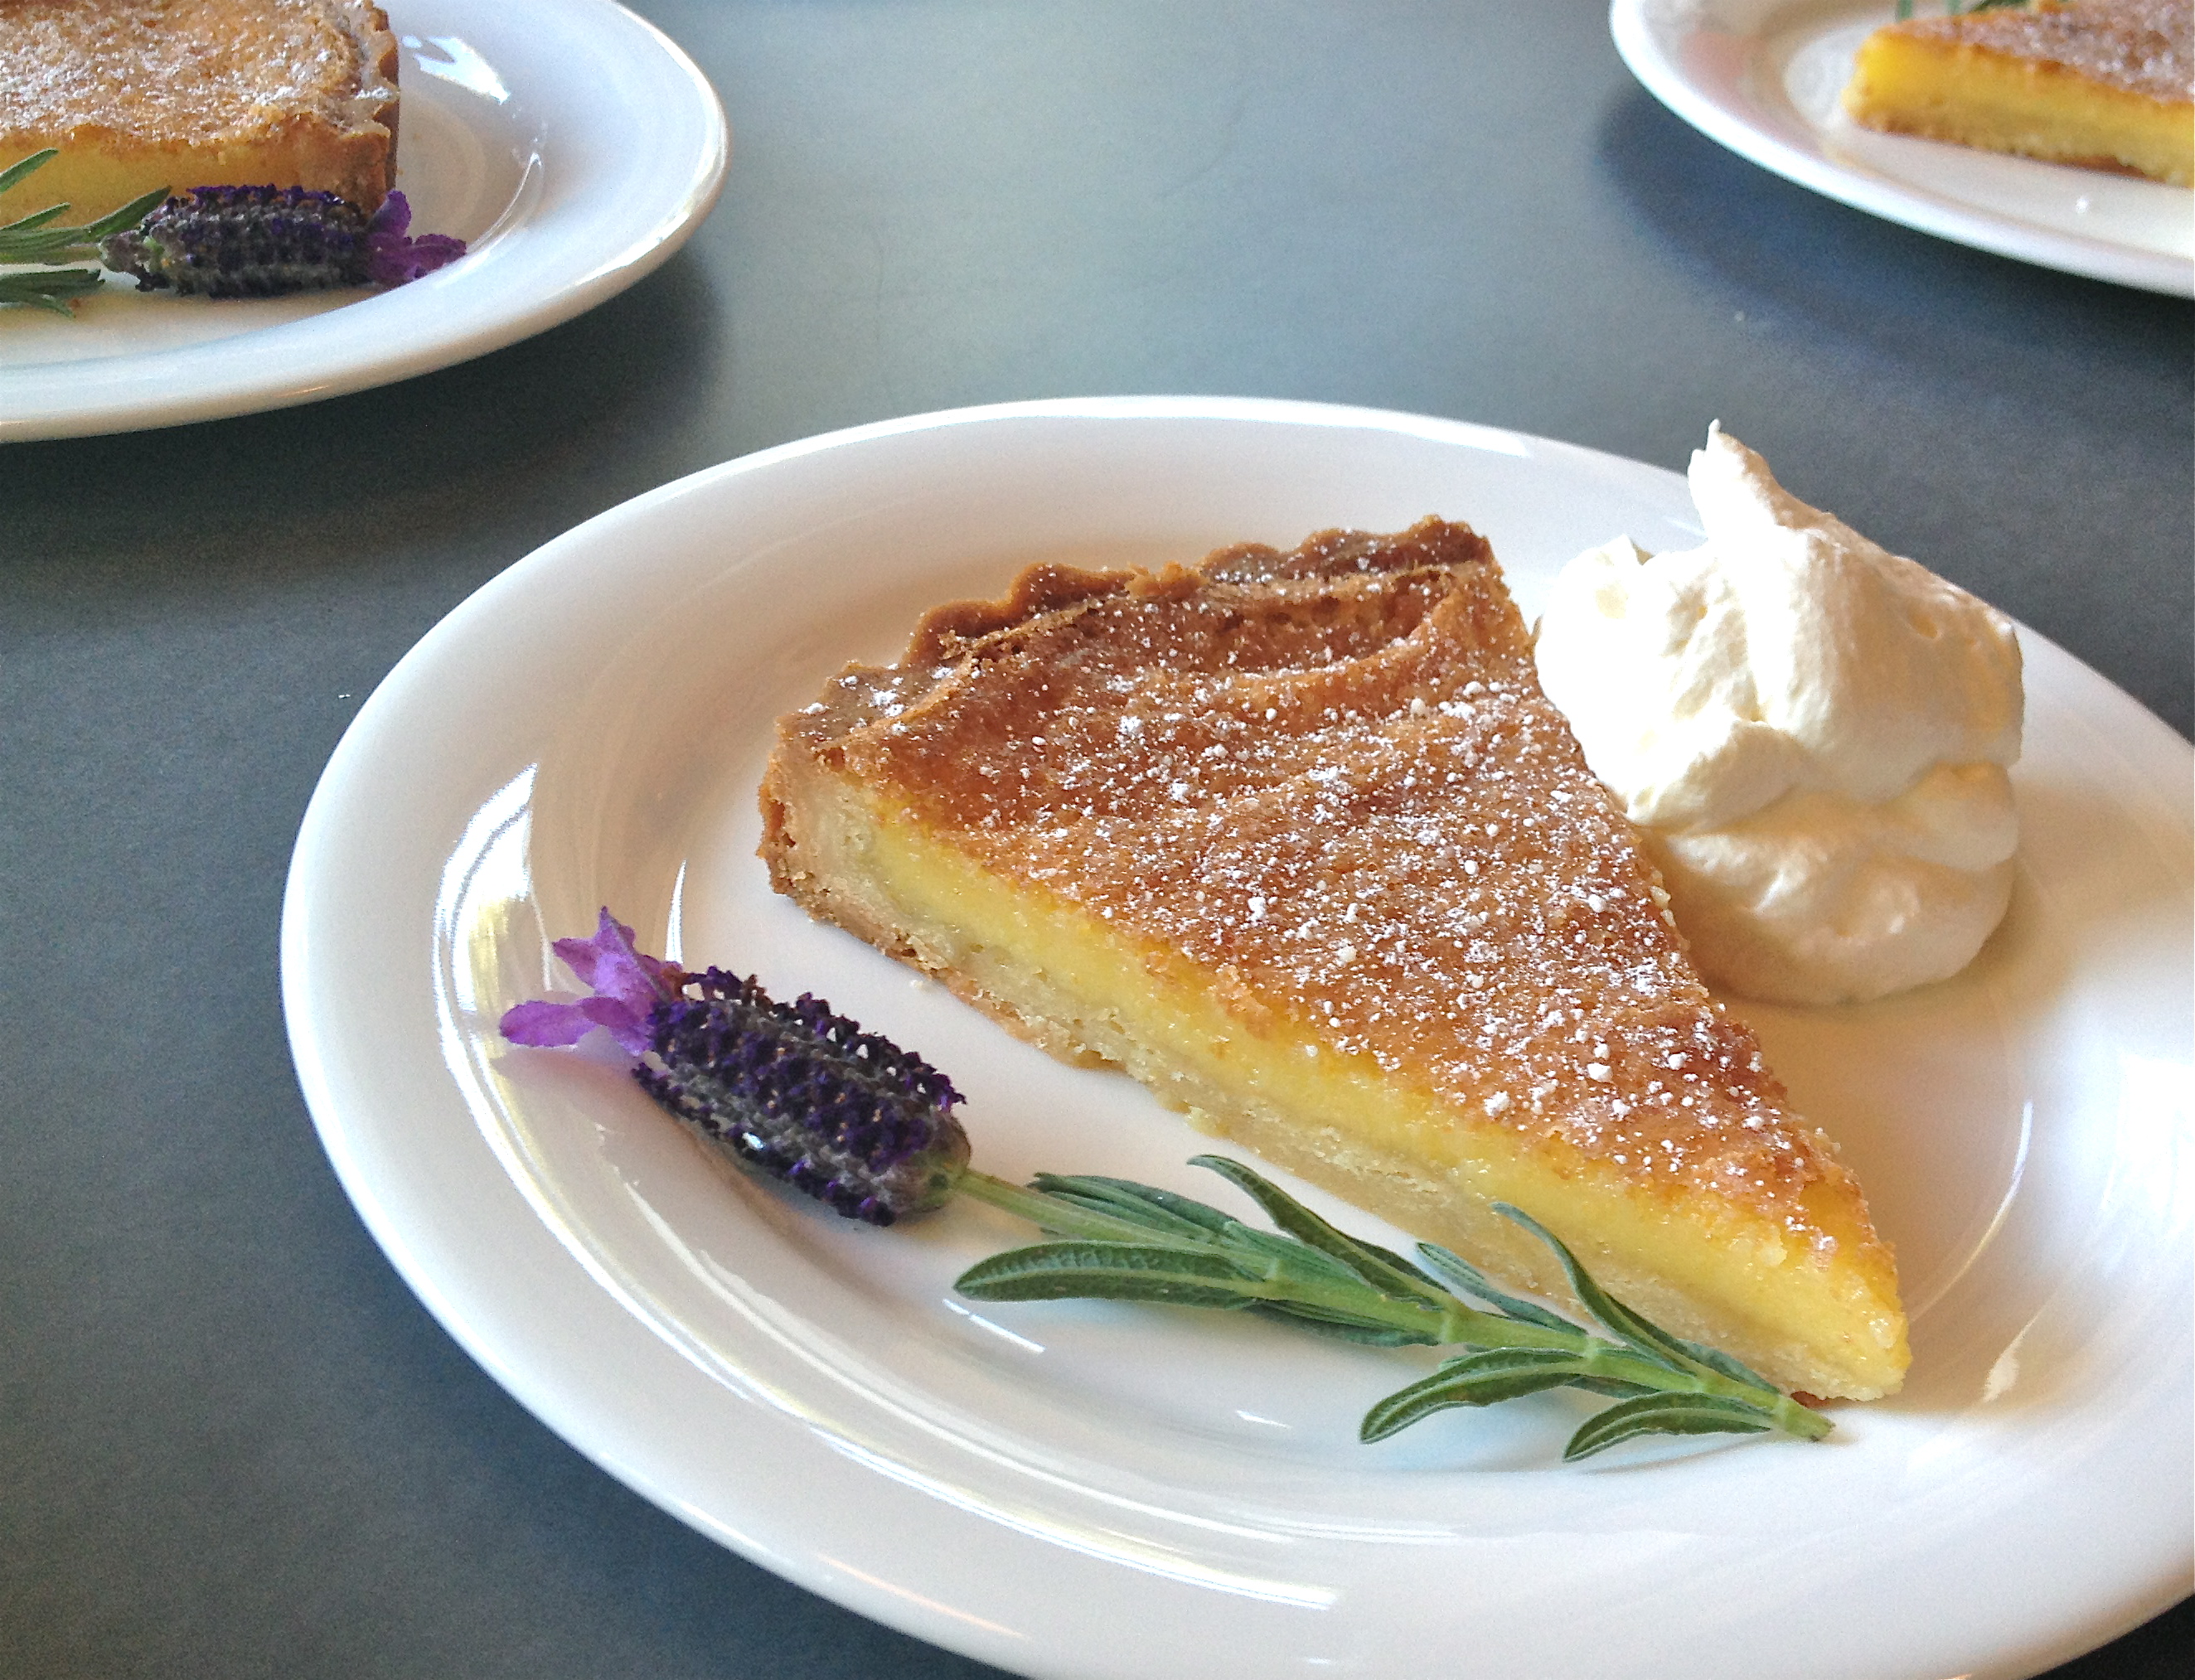
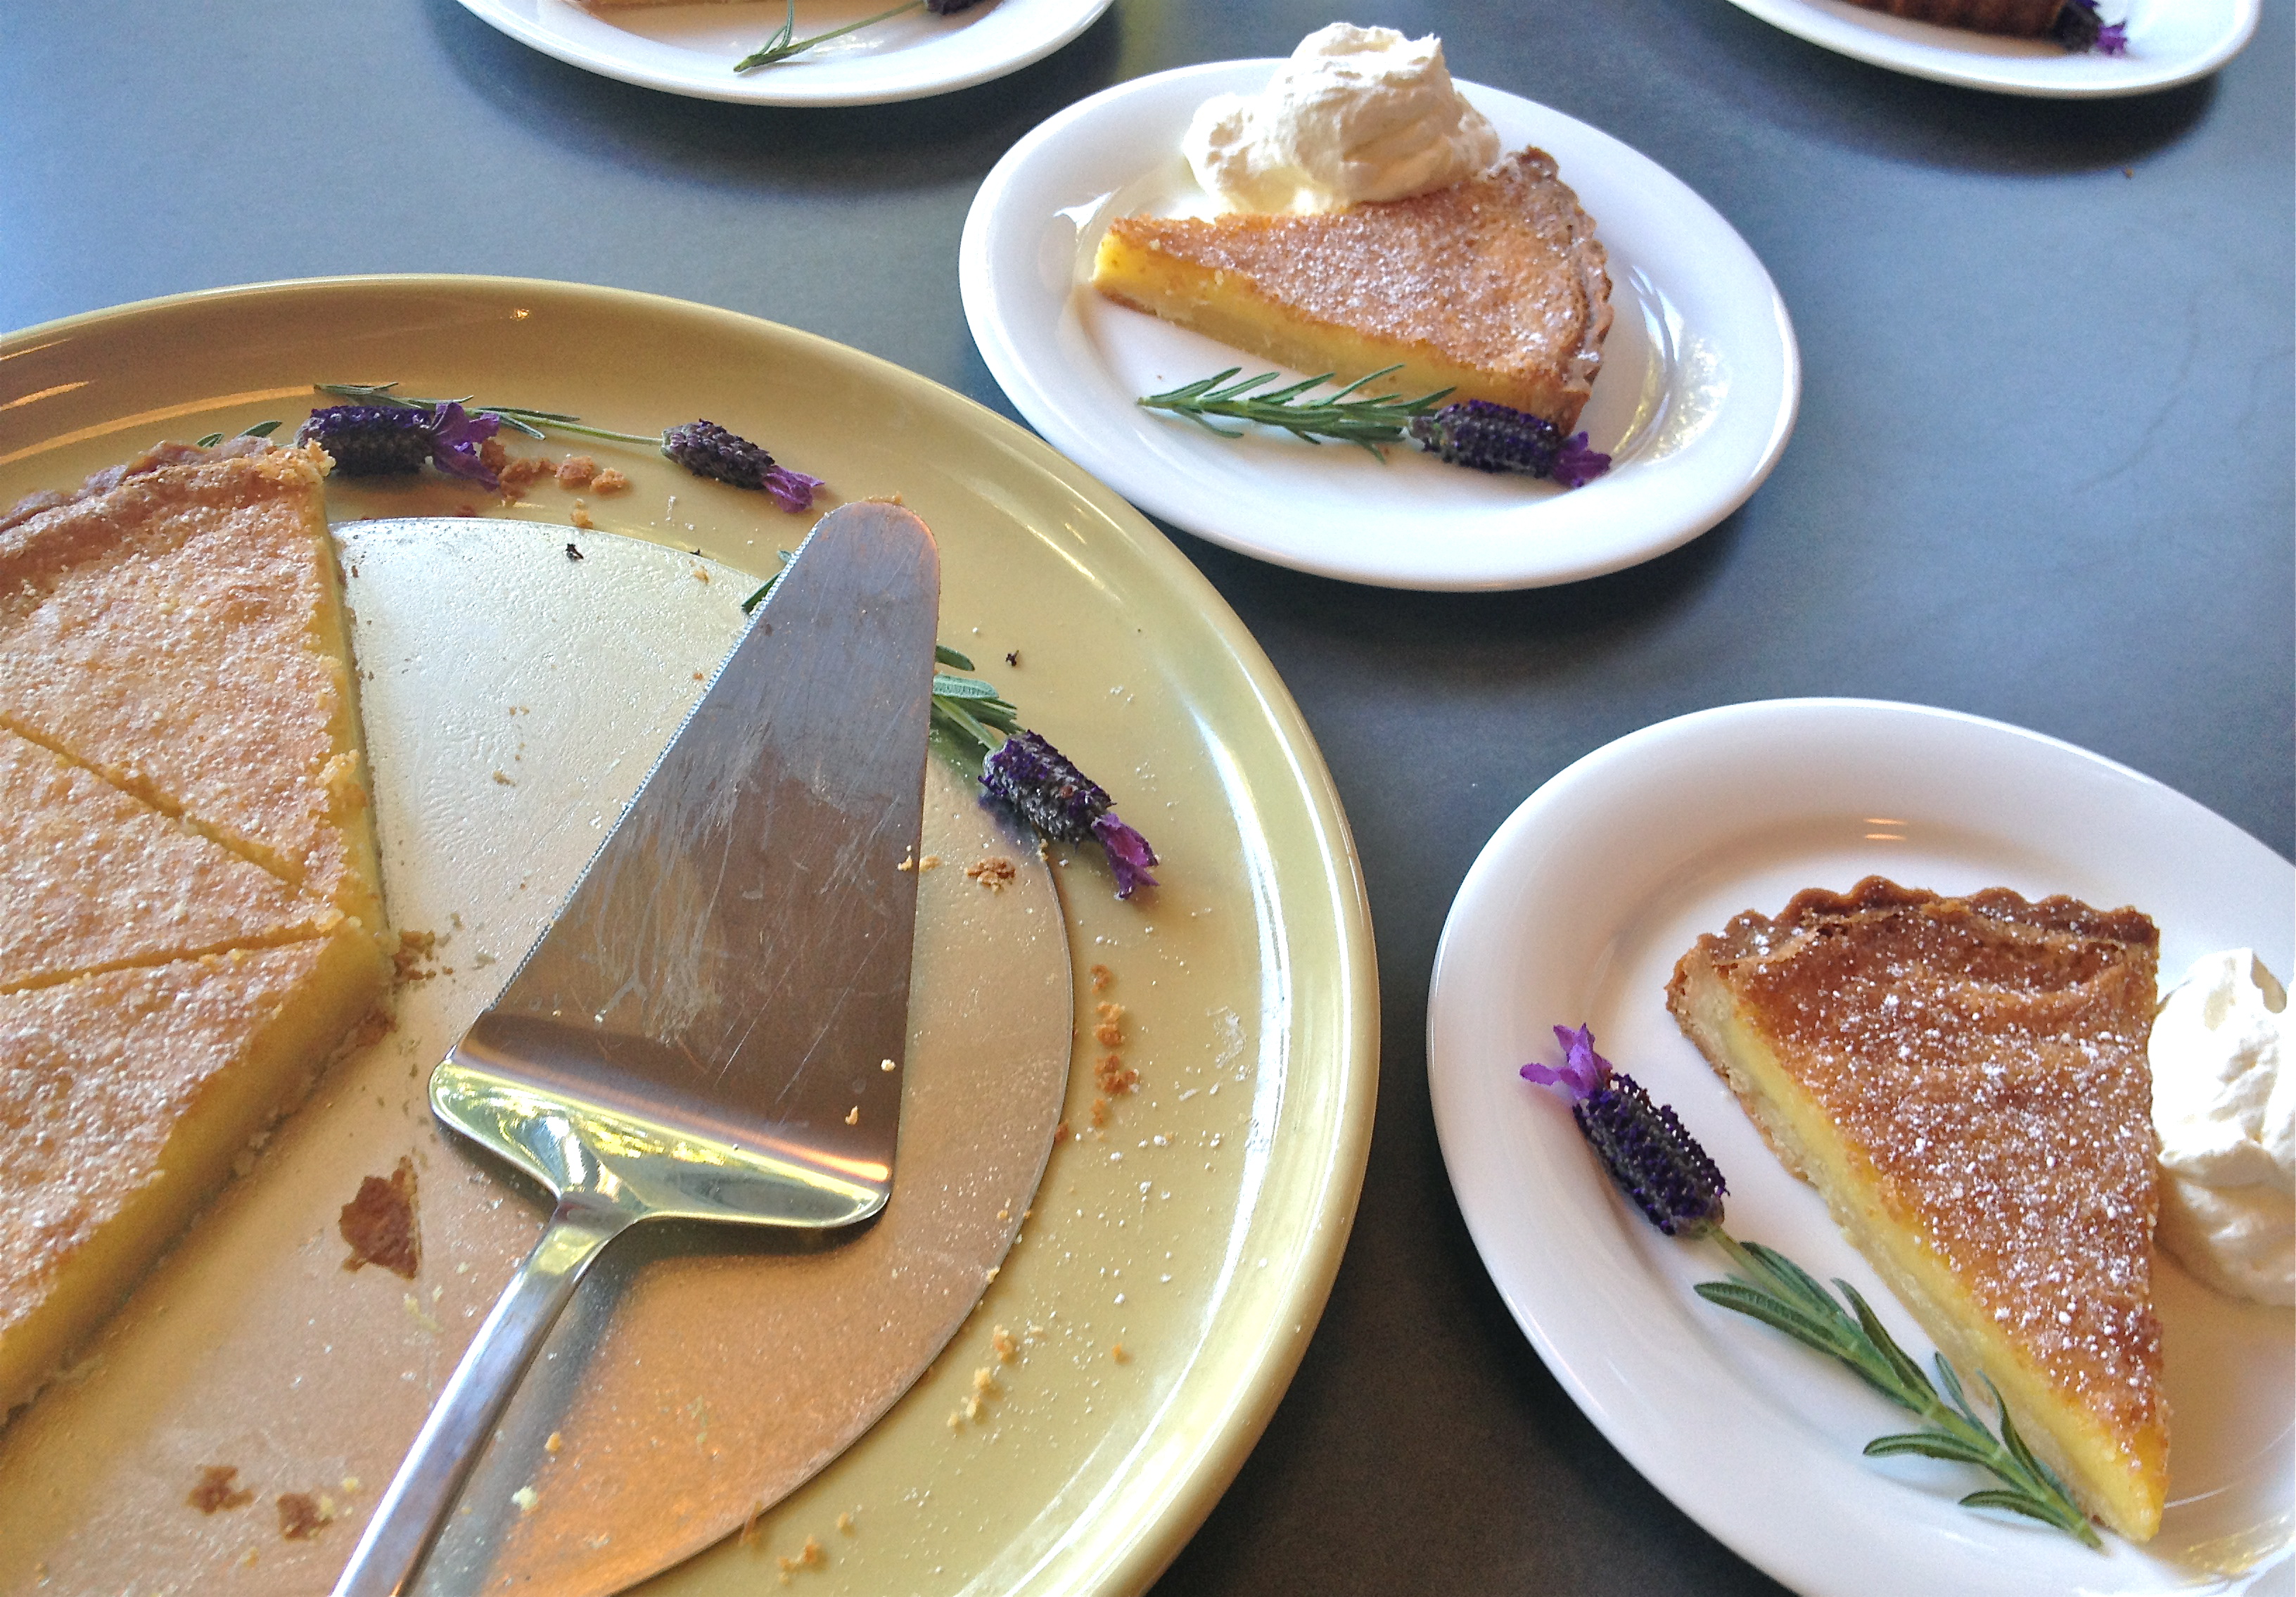
Variation #2: Blackberry Lavender Muffins

Follow recipe above, with these variations:

Add to dry ingredients: 1 teaspoon ground ginger
Add to yogurt mixture: 1 teaspoon lemon zest
For butter/sugar mixture: use 1 cup of white sugar (omit brown sugar)
Add to batter after eggs: 1 teaspoon vanilla extract, 1 teaspoon lavender extract
Fold into batter by hand: 1 1/2 cups fresh blackberries (one basket), cut into half
Sprinkle a little sugar on top of muffins before baking (I like to use turbinado or raw sugar)

Variation #3: Blueberry Almond Muffins

Follow recipe above, with these variations:

For dry ingredients: Use 1 1/2 cups all-purpose flour, 1/2 cup whole wheat flour, and 1 cup ground almond meal (I bought mine at Trader Joe’s, but you can also just grind whole almonds in the food processor.)
Add to batter after eggs: 1 Tablespoon almond extract
Fold into batter by hand: 1 1/2-2 cups fresh blueberries
Mix in a small bowl and sprinkle on top of muffins before baking:2-3 tablespoons sugar (I like to use turbinado or raw sugar), 1/4 cup sliced almonds (break them up a little with your fingers) and a couple of dashes of ground cinnamon

Variation #4: Cranberry-Apricot-Orange-Pecan Muffins

Follow recipe above, with these variations:

Mix in a small bowl and set aside: 2/3 cup dried cranberries, coarsely chopped, 1/4 cup dried apricots, chopped, 2 teaspoons orange zest, 1/4 cup freshly squeezed orange juice
Add to dry ingredients: 1 teaspoon ground ginger, 1 teaspoon ground cinnamon, dash or two of freshly ground nutmeg
Fold into batter by hand: Cranberry apricot mixture, 2/3 cup coarsely chopped pecans
Mix in a small bowl and sprinkle on top of muffins before baking:2-3 tablespoons sugar (I like to use turbinado or raw sugar), 1/2 teaspoon cinnamon, 1/2 teaspoon ground ginger, 1/4 cup finely chopped pecans

Blackberry lavender muffins

IMG_1707

I usually like to pair my recipes and food photos with philosophical musings (or perhaps “ramblings” is more accurate), which is why months tend to pass by before I have the time and inclination to write any new posts. But sometimes sugar is just sweet. Sometimes, dessert just tastes good. And this is one of those times.

Yesterday, I made a recipe that was so good, and so deceivingly easy that I just have to share it. So I’m breaking my own rules, sparing you the life lesson, and keeping it short and sweet with a great recipe and some pretty photos. (Also trying to follow my own advice to simplify. Can you break your own rules and follow your own advice at the same time?)

IMG_1703

I used this recipe for “Lazy Mary’s Lemon Tart” by dymnyno on Food 52. I was intrigued by the technique: no futzing around making lemon curd, just throw a whole Meyer lemon in a blender (peel and all) with eggs, sugar and a stick of butter and voila: tart filling that’s ready to pour into your tart shell and bake. You don’t even have to melt the butter. I did “go the extra mile” and remove the seeds from the recipe, even though the recipe didn’t specifically say to do so. I’m a perfectionist like that.

I made my own tart shell using the recipe below, which was also pretty easy, but if you really want to be “lazy” and just pick up a pre-made tart shell from Whole Foods, I fully support that decision.

Classic Tart Dough from the Cooks Illustrated Cookbook

1 large egg yolk
1 tablespoon heavy cream
1/2  teaspoon vanilla extract
1 1/4 cups AP flour
2/3 cup powdered sugar
1/4 teaspoon salt
8 tablespoons cold, unsalted butter, cut into 1/4″ pieces and chilled

Whisk egg yolk, cream, and vanilla together in a bowl. Process flour, sugar and salt in a food processor. Add chunks of butter, tossing to coat each one in the flour mixture. Pulse until mixture resembles coarse cornmeal, about 15x. With machine running, add egg mixture and continue to process until dough just comes together around blade, about 12 seconds.

Turn dough onto sheet of plastic wrap and flatten to 6″ disk. Wrap tightly and refrigerate for at least an hour. (Can make ahead and store up to 2 days in fridge or 1 month in freezer).  Before rolling out dough, let it sit on counter to soften slightly for about 10 min. Roll out into 11″ circle on lightly floured surface. Loosely roll up onto rolling pan and gently unroll onto 9″ tart pan with removable bottom, letting excess dough hang over the edges. Ease dough into pan by gently lifting edge of dough with one hand while pressing into corners with other hand. Press dough into fluted sides of pan, forming distinct seam around pan’s circumference. Crust should be 1/4″ thick all around. If some sections are too thin, reinforce them by folding the excess dough back on itself. Run rolling-pin over top of tart pan to remove any excess dough. Prick holes into bottom with a fork. Wrap dough-lined tart pan loosely in plastic wrap place on large plate and freeze until dough is fully chilled and firm, about 30 min. (Can be wrapped tightly and frozen up to a month).

Heat oven to 375. Set dough-lined tart shell on a baking sheet, line with parchment paper and fill with pie weights (or dry rice or beans). Bake about 15 min, remove parchment and pie weights and bake for another 10 min. Remove from oven and allow to cool slightly before pouring in lemon filling and baking tart at 350 for 35-40 min.

Inspired by the lavender blooming in my garden I added a few drops of lavender extract to the whipped cream just for fun.

IMG_1708

Rolling Tart Dough

Nurture. What a great word. So many meanings, so much promise. Full of hope and faith in the future.

As I mentioned way back when, at the start of 2012, Matt and I have a tradition: in lieu of New Year’s resolutions, every year we choose a single word to live by. A mantra to remind ourselves what really matters. This year during our New Year’s Day hike, when I asked Matt what he thought our 2013 word should be, “nurture” was the first word out of his mouth. And it was perfect. At the time, I was about 6 months pregnant, (now only 7 weeks, yes I said weeks, left to go!), and just starting to feel the movements of a new life taking shape inside me. We had nurtured the hope of becoming parents for a long time, and now it seemed it was really going to happen.

For us, the word contained not only the obvious meaning of nurturing our child, and cultivating the types of values we want to pass along as parents, but also a reminder to nurture ourselves and each other. To steady ourselves against the all-consuming, life-changing event on the horizon.

P1060593

I found myself thinking about this promise last weekend, as I was preparing a meal to drop off for my friend Clare who just had a baby. Most of the time, nothing gives me more pleasure or satisfaction than cooking for the people I love. And going above and beyond with a few culinary details (homemade chicken stock for my soup, pie dough from scratch), especially for people who might not have the time to do it themselves, is a gift I love to give. But last weekend, as I was rolling out pie dough with my great-grandmother’s wooden rolling pin (we’ll get back to her in a moment) and rushing to get my tart in the oven, I discovered that at 8-months pregnant, standing in the kitchen for hours is not as fun as it used to be. As much as I wanted to make the meal of all meals to soothe the bodies and souls of a family with their hands full (newborn AND toddler!), what I wanted and needed even more was a nap. In my quest to nurture others, I had forgotten to nurture myself.

Gramma in the iris bed

Now back to my great-grandmother, Mary Blanche. She knew a thing or two about how to nurture. For Christmas every year, she gave us each a tin of homemade cookies and new flannel pajamas, lovingly sewn. And when I visited her as a little girl, we would make snickerdoodles and tapioca pudding, and serve it up on her finest china at tea parties for prestigious guests (my dolls, stuffed animals, and other dignitaries.) She would pull a step stool up to her kitchen counter so I could be her kitchen apprentice, kneading and mixing at her side. I loved her wrinkled hands, talcum-scented and soft as pie dough. But in addition to all the loving touches she doled out to those around her, Mary Blanche was really good at taking care of herself. Of hearty Michigan farm stock, she had a streak of independence and gumption that served her well all her life. She lived out her final days alone in her house, and as family legend has it, was making herself a pot of homemade chicken soup from scratch on the day she died, at age 96.

IMG_1664

When I finally arrived at Clare’s house with a basket of homemade goodies, flustered from rushing around all day, I was greeted with a very calming reality-check. The whole family–mom, dad, newborn, and toddler were settled in for a Sunday afternoon nap. Rosy-cheeked, and pleasantly tired from a hike, they greeted me in PJs and bed-head and invited me into their cozy cocoon. Invited me to slow down. Leading by example in the most nurturing way.

IMG_1667

I was really happy to share a lovingly prepared meal with this family, and I know they sincerely appreciated it. But I also know they would have equally appreciated a much simpler gesture. And so, after that visit, I vowed to give myself permission to simplify. And naps. More naps!

Thank you Clare and Mary Blanche for helping me remember to nurture myself.

P1060596

The meal:

Sausage & Kale Dinner Tart, recipe from Food 52, posted by My Pantry Shelf. (Whose blog My Pantry Shelf  is definitely worth checking out.)

This recipe is fantastic. I’ve made it before. This time around, I made a few minor modifications in an effort to reduce the guilt I feel about eating pie for dinner: used a lower fat turkey sausage and substituted 1/2 cup of the flour with whole wheat flour. But then again, I probably negated those efforts by adding slightly more cheese (ricotta AND goat’s milk feta) than the original recipe calls for. Oh well. Delicious either way.

Served with cauliflower soup (recipe from The French Market: More Recipes from a French Kitchenby Joanne Harris & Fran Warde) and salad greens from our garden, with a homemade Dijon vinaigrette.

At least I was “self-nurturing” enough to double the recipes so we could also enjoy the fruits of my labor!

IMG_1658

P1080276

Pine Nut Brittle with Rosemary

Hello there. I know, I know, it’s been a long time. Apologies to my loyal followers, all seven of you, including my mom. I’m not sure where the time has gone. I’ve still been cooking. Lots. But other diversions of life have kept me from the writing and photography part…

This month, the Food52 Cookbook, Volume 2 was published, featuring my recipe for Corn Salad with Cilantro and Carmelized Onions. What a thrill to hold that book in my hands, and see “Ms.T” in print, right there on page 253. How exciting to see my photo in the back, as part of such a wonderful mosaic of home cooks from all over the world. (Thank you to those who voted for the recipe last summer, and to Sandra and Chris for sharing it with me in the first place!)

And then, before the high had even worn off, I discovered that my recipe for Pine Nut Brittle was featured on Saveur’s web site! Included in their very cool  Cookie Advent Calendar, hiding behind door #19. Professionally tested and photographed and practically glowing in its spotlight. (ok, I’ll admit it, I’m a little bummed they credited the blogger who told them about the recipe rather than the cook who created the recipe. But I know it’s mine. And now all seven of you do too. And I do appreciate Kimberly from The Year in Food turning them onto the recipe–after all, her blog is one of my favorites, and she was quite lovely when I met her at the Food52 potluck last year.)

Anyway, all this “fame” got me thinking. A year and a half ago, when I started this blog, and began entering recipe contests, and devoting an extraordinary amount of time to obsessing about food, I did it because I really needed a diversion. Some bumps in the road, at work and in life, made me question the path I was on. Made me crave another outlet to pour my passion into. Made me need some new hopes and daydreams for future possibilities.

Early morning holiday shadows

Holly branch in sunlight

And it worked. It’s been really rewarding–for me, and hopefully also for the people I cook for–to spend a little more time on this hobby of mine. But a funny thing happened along the way. The other stuff–the bumps–worked themselves out. When I shifted my attention, ever so slightly, away from the frustrations I couldn’t control and stopped banging my head on the wall, it all seemed to get better.

So here I am, at the end of 2012, with a suddenly more balanced contentment spread across career, cooking, and other hopes for the future. And feeling very, very grateful for all three.

Thank you for bearing with me. I’ve been doing a lot of holiday baking lately, which also means eating a lot of sweets at all hours of the night. (QA testing is a crucial part of any production process, right???) So the ramblings above are admittedly fueled by too much sugar and too little sleep.

Wishing you all happy holidays and a very sweet New Year!

Pine Nut Brittle with Rosemary

Ms. T’s Pine Nut Brittle with Rosemary
(winner of “your best holiday confection” on Food52)
2 cups sugar
2 1/2 cups pine nuts (yes, I know, they are crazy expensive. that’s why this treat is only for the really nice people on your list.)
8 tablespoons (one stick) unsalted butter
1 tablespoon finely chopped fresh rosemary
1 tablespoon finely ground sea salt

Place the sugar in a large, heavy saucepan over high heat and stir with a wooden spoon until sugar begins to melt. Lower the heat to medium-high and keep stirring just until the sugar is melted. Stop stirring and watch for it to turn a medium caramel color. About 10 minutes total.

Stir in pine nuts, and then butter. Allow pine nuts to cook for about two minutes, stirring constantly. Stir in half of the rosemary and half of the sea salt. Note: Don’t panic if your butter separates and looks like an oily unappetizing mess. This probably has something to do with temperatures–if you want to know, ask a more scientific cook than me. My advice is just keep stirring and it will eventually all come back together.

Turn the mixture out onto a sheet pan lined with parchment paper (NOT wax paper–I learned this the hard way), and spread it evenly to the desired thickness with a wooden spoon or stiff rubber spatula. Sprinkle remaining rosemary and salt on top, while brittle is still warm.

Allow to cool completely–at least one hour–then break the brittle into pieces and store in an airtight container at room temperature. If your brittle isn’t brittle enough to break into pieces, pop it in the freezer for 10 to 15 minutes, until it hardens enough to snap easily.

Holiday baked goods

In addition to the pine nut brittle, my goodie bags this year included rugelach (inspired by this lovely post on Sweet Amadine), chocolate gingerbread cookies, and coconut macaroons with lime zest (had to sneak in a hint of limes from our tree.)

There’s a place we like to go for dinner that’s right down the hill from our house called the Buckeye Roadhouse. It opened in 1937, the same year as the Golden Gate Bridge, perfectly positioned to take advantage of all those extra day-trippers heading to and from San Francisco. It’s been through a few incarnations since then, but retains a certain old school charm to this day. The dining room is a grand place with high ceilings and a big, stone fireplace that lends just the right weight to special occasions.

But me and Matt, we prefer dining at the bar. Cozy red leather banquettes and paned windows make it feel like a hide-away. The Buckeye is known for its comfort food and is the perfect spot for a martini and a big, juicy steak with potatoes au gratin. Throw-back dishes like “oysters bingo” and wedge salad never disappoint. But sprinkled among the classics, there are a few new California twists, and I’ve recently become quite smitten with their kale salad. So smitten, that I just had to figure out how to make it, and after peppering the bartender with questions for the chef, was able to get pretty close.

It’s listed on the menu as “Dino Kale with Ricotta Salata, Shaved Fennel, Black Radish, Croutons and Lemon”. Croutons sound so unassuming, but these are really the secret weapon. In fact, they’re not really croutons at all, but delicate, buttery bread crumbs made from brioche bread.

The other secret, as I learned from the bartender, is letting the kale marinate in lemon juice for a few hours, which starts to break down the fibers a bit and make it more tender. The one secret that evidently shall remain a secret is the black radishes. They’re stunning on the plate–round paper-thin slivers with black edges and white centers. I hear the chef gets them from a special source in Napa. I’ve been keeping my eye out at the farmer’s market, but alas, have been unable to find them in the Bay Area. But white radishes will do, and in any case, not being able to replicate the dish to a T gives me an excuse to go back to the Buckeye for dinner (or to Napa for a radish run? who’s with me?).

We planted kale in our little raised bed garden this year, and the bugs seemed to like it better than anything else we were growing. They were quickly making lace of it, so I harvested the whole crop hastily, in order to beat the insects to the chomp. Inspired by the restaurant in our “backyard” and made with the kale literally from our backyard (+ a lemon from our tree) makes this “the Local Local Special”.

The Buckeye Kale Salad with Brioche Bread Crumbs

Serves 4.

1 bunch of fresh, tender Dino kale. Ribs removed, cut into bite-sized pieces.
juice from one lemon
4 slices brioche bread with crusts removed (about 8 oz.)
1 tablespoon unsalted butter
2 tablespoons olive oil
3-4 radishes (Black if you can find them), sliced paper-thin with a mandoline
1 small fennel bulb, shaved
Shaved ricotta salata (this is the slightly dry, crumbly kind. I didn’t measure, so just use whatever amount feels right to you.)
sea salt and fresh ground black pepper to taste

Toss kale with lemon juice in a large bowl, cover and marinate in fridge for 2-3 hours.

Pulse slices of bread 3-4x in a food processor to shred into coarse bread crumbs. Heat butter and olive oil in a medium skillet over medium heat. Add bread crumbs and toast, stirring often with a wooden spoon, until golden brown and slightly crispy. About 15-20 min. Set aside.

Toss marinated kale with sliced radishes, fennel, bread crumbs and shaved ricotta salata. Season with salt and pepper. If needed, add an extra sprinkle of olive oil. Enjoy!


PS on 7/22- Doh! A week after I published this post, I discovered a whole bunch of photos of the kale salad on my camera that I had forgotten about. I’ve edited the post above to include a few of my favorites. This is what happens when I go three months without posting.


Image

Last week, my mother-in-law visited from Connecticut. She had only one request for her time in California: a trip to the farmer’s market. A request that I was more than happy to oblige. It was a deliciously gorgeous spring day and I savored the excuse to wander more slowly than usual, stopping at every stall to admire the bounty with the appreciation of outsider’s eyes.

We selected quite a haul for our Sunday dinner. A fresh chicken and carrots in assorted colors for roasting, potatoes for mashing, and sugar snap peas for munching. But the score of the day was definitely the strawberries. Luscious perfumy little jewels that seduced us at first bite. We picked up three baskets so we’d still have plenty left to make a dessert after we had greedily eaten our fill over the sink.

When we got home from the farmer’s market, I lugged a few of my favorite cookbooks out to a sunny spot in the backyard and we poured over recipes for a while (sorry friends, blogging is fun, but there are times when there is no substitute for the satisfaction of a heavy book on your lap), finally settling on the Rhubarb Strawberry Pudding Cake recipe from the Gourmet Today cookbook by Ruth Reichl.

Image

Making this cake with my mother-in-law in the kitchen was one of my favorite moments of her visit. She did the dry ingredients, I did the wet. And we shared the delight in the heavenly smell of the cake in the oven. Sweet, bright and comforting, like family when you need it most.

Image

This is a really easy, no-fuss kinda cake, and it’s more delicious than it is photogenic. I guess they call it pudding cake because it’s so moist you could eat it with a spoon. The note in the cookbook says you can modify the recipe to use almost any fruit your heart desires, and you can bet I’ll be trying it with peaches come July. (Plus raspberries, perhaps?)

The only modification I made to the recipe was to add a little citrus zest (orange + lemon) because we had a few from our backyard trees that weren’t juicy enough for anything else, and it seemed the right thing to do. We served the cake warm with a dusting of powdered sugar, a scoop of vanilla ice cream, and a few slices of fresh strawberries.

I’ve heard the leftovers are great for breakfast. I’m not saying I’ve tried it, but it tastes great with coffee.

Rhubarb Strawberry Pudding Cake
from the Gourmet Today cookbook by Ruth Reichl. Recipe can also be found on Epicurious.

Makes 6 to 8 (breakfast or dessert) servings

1/4 cup water
1 1/2 teaspoons cornstarch
1/3 cup plus 1/2 cup sugar
2 cups chopped fresh rhubarb stalks
1 cup chopped fresh strawberries
1 cup all-purpose flour
1 3/4 teaspoons baking powder
1/2 teaspoon salt
1 large egg
1/2 cup whole milk
1 stick (1/2 cup) unsalted butter, melted and cooled slightly
1 teaspoon pure vanilla extract
1 teaspoon+ of citrus zest (lemon and/or orange. Optional. This part is Ms. T’s addition–not in the Gourmet recipe.)

Put oven rack in middle position and preheat oven to 400°F. Butter an 8-inch square glass or ceramic baking dish.

Stir together water, cornstarch, and 1/3 cup sugar in a small saucepan, then stir in rhubarb. Bring to a simmer, stirring constantly, then simmer, stirring occasionally, 3 minutes. Remove from heat and stir in strawberries.

Whisk together flour, baking powder, salt, and remaining 1/2 cup sugar in a bowl.

Whisk together egg, milk, butter, and vanilla in a large bowl, then whisk in flour mixture until just combined. Add citrus zest.

Reserve 1/2 cup fruit mixture, then add remainder to baking dish and pour batter over it, spreading evenly. Drizzle reserved 1/2 cup fruit mixture over batter. Grate a little more citrus zest on top. Bake until a wooden pick inserted into center of cake portion comes out clean, 25 to 30 minutes. Cool in pan on a rack 5 minutes before serving. (Can be made a few hours ahead of time and served at room temperature or re-heated.)


It all started with preserved Meyer lemons. I tried making them a couple years ago, and I was smitten. So enchanting, so unforgettable, like the taste of sunshine and ocean combined. A secret ingredient to bring soups, salads and countless other dishes to life. Alas, that first jar of lemons went way too quickly, swallowed into big bowl of orzo salad that didn’t last through the end of the party. For months afterwards, I scanned the farmer’s markets and grocery stores for Meyer lemons, hoping to re-stock my supply. But the season is fleeting, and I had to wait longingly for spring to arrive again.

Now I know better. When I catch my first glimpse of those deep gold treasures at the farmer’s market in February, I go into full-fledged hoarder mode. I’ve been known to clean out the citrus lady entirely, and shamelessly come back the following week for more. Meyer lemons are wonderful fresh, of course, but preserving them allows me to savor their delightful flavor long after the season has passed. And I’m a sucker for ingredients that have crossover appeal from sweet to savory. Preserved lemons are easy to make. You basically just put them in a jar with salt and lemon juice and let them sit for 30 days. I more or less use this recipe as a guide, except I skip the spices because I prefer to have a more versatile condiment that I can take in various flavor directions depending on the dish I’m using them in. Why should Moroccans have all the fun?

Of course, the hard part is waiting 30 days. I started my first batch of the season in February, and have been religiously shaking the jar in my pantry every day like a good girl, and counting the days. So when the time was finally up, I was chomping at the bit to showcase my finely aged beauties in a dish that would celebrate spring.

That’s when I stumbled onto the idea of a shaved asparagus salad. Another ingredient that’s just starting to make its springtime debut, calling for a play date with my preserved lemons. I took my inspiration for the salad from this lovely Shaved Asparagus & Mint Salad by Meatballs&Milkshakes on Food52, and for the dressing from a recipe for Asparagus & Bulgur with Preserved Lemon Dressing in The Essential New York Times Cookbook by Amanda Hesser. With these two recipes as my jumping off point, I improvised. When I saw watermelon radishes at the store, I couldn’t resist adding them to the mix simply for the joyful contrast of their pink slices against the green shavings of asparagus–this was a salad intended for a ladies’ luncheon after all. Before I knew it, I had a bright confetti of a salad that seemed to be doing a little happy dance that daylight’s savings has finally turned our clocks to the hopeful up-swing leading towards summer.

Shaved Asparagus & Watermelon Radish Salad with Preserved Meyer Lemon Dressing
Serves 4.

For the dressing:
1 preserved Meyer lemon
7 tablespoons olive oil
1 teaspoon coriander seeds, lightly toasted and ground
freshly ground black pepper

Rinse the preserved lemon with cold water, and the cut it in half (if it’s not already cut into halves or quarters). Chop one half coarsely and place in a blender. Use a spoon to remove the pulp from the remaining half and add only the pulp to the blender, taking care to discard any seeds. Dice the remaining rind into small bits and set aside to garnish the salad. Add the oil and spices to blender and blend until smooth. Taste and add more salt if needed.

For the salad:
1 bunch (about a pound) of very fresh asparagus, the thicker the better
1 small fennel bulb
1 handful fresh mint leaves
1/2 cup pine nuts, lightly toasted
2 oz mild goat cheese, crumbled
1 watermelon radish, scrubbed
A few bits of preserved Meyer lemon rind, diced (leftover from dressing–see above)

Cut off the tough ends and the tips of your asparagus stalks at an angle and set the tips aside. If they are big, fat stalks, like mine were, blanch the tips in a pot of salted boiling water for 30 seconds, plunge them into an ice-water bath, drain and set aside. (As promised, here are some more tips I learned at my CIA boot camp: when boiling water for vegetables or pasta, add enough salt until the water is “salty like the sea”. This will add flavor more evenly to the item you’re cooking than if you simply salt the cooked food. Always leave the lid off when you are boiling vegetables, because they release acid as they cook, which can turn them brown. An ice bath is a great way to stop the cooking and keep your veggies al dente until you’re ready to finish your dish. Make sure to drain them immediately after they’ve completely chilled in the ice bath, so they don’t absorb water and get soggy.)

Use a vegetable peeler (working lengthwise from root end to tip end) to create thin strips of asparagus. You’ll have some scraps leftover that are too hard to work with. You can either compost them or save them for a soup, like this one. Place the strips in a bowl. Remove the tough outer layer of fennel bulb and trim off both ends, and use a mandolin to slice thin rounds of fennel, adding them to the bowl with asparagus. Trim the ends of the ends of the radish and slice into thin rounds with the mandolin. Toss radish slices into the bowl, or layer them around the perimeter of your salad plates (see photos). Tear mint leaves and add them to the bowl. Toss salad with dressing. The recipe I’ve listed here will make more dressing than you need for this salad (which is a good thing, because it’s delicious and will keep in your fridge for a week or two). So add dressing to your salad a few spoonfuls at a time, to your taste. Keep in mind that the asparagus will release moisture as it sits, so you’ll want to go pretty light on the dressing. Taste and add salt if needed.

Place salad on plates and top with pine nuts, goat cheese and preserved lemon rind. Enjoy!

Notes from my tasters: The goat cheese added a nice creaminess, but wasn’t entirely necessary given all the other flavors. You could easily skip it and it would still be good. The fennel flavor also got a little lost–you could probably choose fennel or radish (for crunch), but don’t really need both. Don’t forget to taste the asparagus mixture and add salt if needed. I think my final dish could have used a little more acid. A squeeze of lemon (Meyer or regular) would be a nice finishing touch.

It was a cold and rainy January night, and my headlights cut through the fog as I headed North along winding country roads. The occasional oncoming brights seemed to flash out of nowhere, doing little to calm my nerves. I clenched the steering wheel with trepidation, knowing I’d be reporting for my first day of boot camp at the CIA before the sun came up.

Although this may sound like the opening paragraph of a bad thriller, the CIA that I’m referring to is, of course, the Culinary Institute of America. Thanks to an incredibly thoughtful gift from my husband and parents, I was headed to spend the week of my birthday in “Culinary Boot Camp: Basic Training” brushing up on my cooking skills. The course promised hands-on training in all the fundamentals from knife skills, to kitchen terminology, to basic cooking methods like roasting, grilling, poaching and braising, just to name a few. Although I’ve considered myself a pretty good cook for years, I’d never had any professional training in the basics and I liked the idea of becoming more confident in the how and why of the kitchen. Spending a whole week in a real culinary school–you might even say THE culinary school–was a dare to myself. Would I still feel passionate about this hobby under such extreme circumstances? Do I have what it takes to even allow myself to daydream of making this a career someday?

CIA Napa

Those were the questions on my mind as I pulled into the dark parking lot at 5:45 the next morning and stared up at the imposing, castle-like fortress, appropriately named “Greystone”. After a few minutes in the lobby, exchanging nervous glances with the other recruits, we were issued our uniforms: black and white checkered pants and white double-breasted jackets, and sent to the bathrooms to change. Our instructor, Rebecca greeted us in the classroom, and stifling a laugh at seeing all of our kerchiefs tied around our necks like a bunch of new boy scouts, promptly instructed us that we’d need to make “some adjustments” to our uniforms. She showed us how to tie the kerchiefs like a cravat under our jackets, and how to tuck our towels neatly into our apron strings, and before we knew it, we were well on our way to acting the part of professional chefs.

After a brief orientation to the massive kitchen and a few demonstrations on knife skills, we were split into small groups and given assignments. Day one was stocks and sauces. We made five different types of stocks from scratch, which we would use in our recipes for the rest of the week. And on my first day of boot camp, I quickly learned that I have a lot to learn. I’m no stranger to homemade stock. I grew up in a house where the smell of homemade chicken soup in winter was as constant as the sound of the furnace keeping us warm. Open my freezer at home and you’re likely to find a roasted turkey carcass being saved for a rainy day. The method that my mother taught me, and that her grandmother taught her, yields a wonderfully rich, slightly cloudy, golden brown poultry stock that’s great in soups and stews with a robust flavor. But there is so much more to the art of stock-making that was new to me. I didn’t know about the constant skimming or the blanching of bones for an end result that is clearer in color and more delicate in flavor. I didn’t know to only add the vegetables in the last hour of cooking–just long enough to render their flavor but not long enough for them to break down and cloud the texture of the stock.

These moments of enlightenment–of deeper understanding of techniques and ingredients I thought I knew–continued throughout the week. After the first day of class, I called my friend Holly and excitedly told her “everything I thought I knew about cooking was ‘wrong’!” To which she protested (as the truly supportive friend that she is), “but how can it be wrong? Your cooking has always tasted great.” And that’s why I put “wrong” in quotes. Like any creative endeavor, there’s a lot about cooking that’s subjective and intuitive. In the kitchen, the ends often justify the means. But like a jazz musician with an understanding of  the fundamentals of rhythm and melody, a cook with a deeper knowledge of the science behind the art will get more consistently satisfying results when improvising. Throughout the week as we worked our way through roasting, braising, grilling, emulsions and starches I soaked up tidbits of knowledge on everything from the shape of protein strands as meat cools, to the acids released by green vegetables when cooked. And I learned something new about even the most basic of recipes. Even mashed potatoes, which is probably one of the first things I ever ate and is practically running through my veins, yielded an “aha moment” in the CIA kitchen.

After five exhausting and exhilarating days in a professional kitchen, I had blisters on my feet, an ossobuco burn on my hand, stains all over my white jacket, and a head that was spinning with fancy french terms like concasse and veloute. But more importantly, I had a new spring in my step, a new level of confidence in the kitchen, and a hunger for more. Where this passion may lead, I still do not know, but after a week at the CIA the spark is anything but extinguished.

Since I can’t possibly share everything I learned during my week at the CIA in one or two blog posts. I thought I’d sprinkle some of my newfound knowledge throughout the next few posts as I put it into practice at home. First up: roux and bechamel sauce. Last weekend, I made the classic Greek dish, “Papoutsakia” or “Little Shoes” (aka, baked eggplant stuffed with meat sauce and bechamel), which gave me a perfect chance to practice some of my new skills.

What I learned in culinary school about roux and bechamel:

-The basic ratio of roux is 6 parts flour/4 parts fat by weight
-At the CIA, we used clarified butter  (butter with the milk solids removed) because you can cook it a higher temperature without risk of burning. I must confess, I was lazy at home and just used regular unsalted butter.
-There are four stages of roux (cooked at varying lengths) which are used to thicken different sauces: 1) white roux, only cooked for about 8 min, just until raw flour taste is removed and the texture is like wet sand. Used in white sauces like bechamel. 2) Blonde/light roux, cooked another 2-3 minutes until color is golden and it smells like shortbread cookies. Used in thinner sauces like chicken veloute or gravy. 3) Brown roux, cooked until it’s the color of brown sugar and it smells like toasted almonds. Used in sauce Espagnole (tomato-based sauce with veal stock). 4) Black roux: cooked until it’s the color of molasses. Only used in Cajun/Creole cooking.
-The longer the flour cooks, the less thickening power it has.
-Classic bechamel sauce is made by adding scalded milk to white roux. Heating the milk with an “oignon pique” (whole, peeled onion, with a bay leaf “tacked” onto it with a few cloves) adds flavor.

Papoutsakia Recipe from “Modern Greek” by Andy Harris

6 small italian eggplants (mine were about 7-8″ long and 2-3″ in diameter. You can use any kind of eggplant. The recipe called for two large eggplants, but I chose the small variety for prettier individual servings.)
2-3 Tablespoons extra virgin olive oil
2 cups meat sauce (recipe follows)
2 cups bechamel sauce (recipe follows)
3 Tablespoons finely ground bread crumbs
2 Tablespoons finely grated parmesan cheese
chopped parsley for garnish

Preheat oven to 375 degrees. Half eggplants length-wise. Score flesh with a knife to create a diamond pattern, and then scoop out flesh with a spoon, taking care not to break through the skin. Chop flesh into small pieces, and saute in a skillet with olive oil over medium heat until cooked through and slightly browned around edges. Add cooked eggplant to meat sauce. Place eggplant halves skin-side down on a lightly greased baking sheet. Fill each eggplant with meat sauce, then top with a generous layer of bechamel (meat should be fully covered with bechamel sauce.) Sprinkle bread crumbs and parmesan evenly over stuffed eggplants and bake for about 40 minutes, until topping is bubbly and golden brown in spots. Garnish with parsley and serve.

Meat Sauce (yields about 5 cups)
4 tablespoons extra virgin olive oil
2 small/medium yellow onions, finely diced
2 cloves garlic, minced
2 stalks celery, finely diced
2 pounds lean ground beef
15 oz can of diced tomatoes
2 tablespoons tomato paste
2/3 cup red wine
1 teaspoon dried oregano
1 teaspoon ground cinnamon
1 teaspoon ground allspice
1 sprig fresh thyme
2 bay leaves
3 tablespoons chopped Italian parsley

Heat oil in a large skillet and saute onions, garlic and celery over medium heat until translucent. Remove to a bowl and set aside. Brown the ground beef in skillet over medium high heat, pouring off excess liquid/fat if needed. Add sautéed onion mixture back to pan and combine with beef. Season with salt and pepper. Add remaining ingredients and simmer for about 45 minutes. Taste and adjust seasoning as necessary. Consistency of sauce should be thick and not too liquidy.

Bechamel Sauce
(yields about 4 cups)
4 cups whole milk
2 bay leaves
1/2 teaspoon all spice berries
8 tablespoons unsalted butter, cut into chunks
1 cup flour
8 tablespoons finely grated parmesan
1/2 teaspoon ground nutmeg
salt and pepper to taste (white pepper preferred)

Scald the milk in a saucepan with bay leaves and all spice berries, and turn heat off. Heat the butter in a large saucepan over medium heat, until melted and frothy. Add the flour all at once. Stirring constantly with a wooden spoon, cook over low heat until the roux is a pale ivory and the consistency of wet sand. About 8 minutes. Whisk the scalded milk into the roux (pour through a strainer to remove the bay leaves and all spice berries), and increase heat slightly to bring sauce to a boil, then reduce again and cook over low heat, stirring constantly, for about 15 minutes. Sauce should be thick and smooth. Remove from heat and stir in parmesan. Add nutmeg, and salt and pepper to taste.The bechamel for this recipe is thicker than the standard–it should be about the consistency of pudding when it cools slightly. If it’s too paste-like, add a little more milk.

The ratios listed above will make a lot more meat sauce and bechamel sauce than you need for the papoutsakia. You can either half the quantities, or use the extra for something else. I used the leftovers in a greek-ish lasagna layered with pasta, bechamel sauce (added a little more milk to thin it out), meat sauce, diced, roasted butternut squash, with a layer of mozzarella on top. It was delicious and definitely not your typical lasagna recipe.

A few years ago, I stopped making New Year’s resolutions. No matter how good my intentions in January, before long I always found myself holding a bag full of broken promises with nothing but a guilty heart to show for it. In an effort to make our commitments for the new year a little stickier, instead of a long list of resolutions, my husband and I started coming up with a simple word or two that we want to hang on to for the year. A motto of sorts. Something we can repeat to ourselves or each other throughout the year when we need a little kick in the pants. In 2011, it was “Jump In”, meaning “take risks”, “try new things” (like starting a blog, for example), “what the hell are we waiting for?”.

On January 1, 2012, with the year’s mantra still up for grabs, we decided to start the year with an impromptu adventure. We put the kayaks on the roof of the car, packed our overnight bags and headed north towards Pt. Reyes. It was one of those weekends that was good to the last drop: a late afternoon paddle, followed with cold beer and fresh oysters on the half shell, sleeping late under a pile of quilts at the Olema Inn, a hike that was long enough to make our legs ache for days, and lots of time to reflect on the ups and downs of 2011 and hopes for the year ahead. During one of those moments, we settled on the catch phrase for 2012: “Savor.” A reminder to slow down and enjoy. To appreciate the fleeting moments that threaten to pass by unnoticed. To find joy in simple pleasures.

And with that in mind, the recipe I want to share with you is simple and sweet. For all the wonderful restaurant meals and elaborate home-cooked feasts of 2011, our simple New Year’s eve dinner at home in front of the fire was one of my favorites. Our main course was Dungeness crabs, steamed with champagne, butter, garlic and fennel, inspired by this beautiful post on The Year in Food. For dessert, the limes from our backyard tree were the stars. After two years of nurturing and fertilizing, our little tree is finally beginning to yield some fruit, which seemed just right for our last taste of 2011.

Inspired by the Vanilla Lime Posset at Twenty-Five Lusk in San Francisco, and using mrslarkin’s Lemon Posset recipe from Food52 as a guide, I made a Lime Posset, which is a rich and creamy custard. With only three ingredients, fifteen minutes of active prep and cooking time, it really could not be any simpler…and yet so elegant and cleansing. Not a bad way to end the year. And it just so happens to taste great with champagne. Also not a bad way to end the year.

Lime Posset

2 cups heavy cream
2/3 cups granulated sugar
1/3 cup lime juice (you’ll need 2-3 limes)
zest from two limes

Heat cream and sugar in a small, heavy saucepan over medium-high heat until boiling, stirring to dissolve sugar. Continue cooking at a gentle boil for five minutes. Watch the heat closely, and turn it down slightly if the cream begins to froth up–you don’t want it to boil over. The mixture will still be very liquidy, and you might be tempted–as I did the first time I made this–to keep boiling a little longer to let it thicken, because it’s hard to believe that this hot, runny liquid will turn into the beautiful, creamy custard you envision. Have faith. Five minutes, no more, no less, will get you the perfect texture.

Remove pan from heat and stir in lime juice, and half of the lime zest. Let cool for 5-10 minutes, and then pour custard into small ramekins, espresso cups or port glasses. Sprinkle a little of the remaining lime zest on the top of each serving. This is a pretty rich and flavorful dessert, and a few bites go a long way. I like using a dish that holds about 1/4 cup if liquid, in which case, the recipe makes 6-8 servings.

Happy New Year! May you have many moments that are worth savoring.

PS- Right after I published this post, my friend The Wimpy Vegetarian turned me onto the concept of a bloghop, where the food blog community connects with other blogs to share recipes. It just so happens that the theme this month is “Citrus Love”, so I joined in on the fun. To read more about it and discover over 100 great citrus recipes from other food bloggers, pucker up and check out this post on The Wimpy Vegetarian.

This year, we hosted a mellow Thanksgiving dinner with a few friends. I cooked for days, and all the usual suspects were at the table: turkey, stuffing, green beans, the works. But my surprise favorites of the day were the butternut squash soup and sun-dried tomato shortbread that I served as appetizers.

Maybe it was my favorite because the soup looked so pretty in those espresso cups passed down from my mother-in-law. The ones her mother brought back from Vienna, which had been sitting in my cabinet for ages just begging for a chance. Maybe it tasted so good because we had just come in from a long hike, rosy-faced and ravenous, and hot soup was waiting. Maybe it was the smell of turkey in the oven, and the anticipation of the feast still to come. The sound of laughter and wine glasses clinking. The sun setting on the cusp of a four-day weekend…

Okay, let’s be honest, it was probably the bacon. Culinary cheating. Maybe it’s wrong, but it tasted so right, and I’ll definitely be making this combo again.

Butternut Squash & White Bean Soup

Adapted, ever so slightly, from this recipe, posted on Food52 by Brussels Sprouts for Breakfast. I first tasted the soup when someone made it for a Food52 potluck party that I was lucky enough to attend. (more on that in another post). I reversed the balance of the flavors a bit here by increasing the squash and decreasing the beans–mainly because I have to be sneaky about the use of beans in my cooking if I want to fool “Mr. T” into eating it. (Which worked beautifully in this case. Again, it’s probably the bacon.)

1 medium-sized butternut squash
6 slices thick bacon, each strip cut into about 4 pieces
2 shallots, peeled and coarsely chopped
2 stalks celery coarsely chopped
2 carrots, peeled and coarsely chopped
4 cloves garlic, peeled and smashed slightly
1/4 cup sherry (optional)
1 tablespoon fresh rosemary leaves
15 oz can of cannellini beans
1 teaspoon red pepper flakes
2 shallots, peeled and coarsely chopped
2 stalks celery coarsely chopped
2 carrot, peeled and coarsely chopped
4 cups chicken or turkey stock
1/2 cup half & half
2 tablespoons unsalted butter
Olive oil
Salt and freshly ground pepper

Preheat oven to 400 degrees. Cut the butternut squash in half the long way, brush with olive oil and put on a baking sheet, cut-side up. Roast for 30-40 minutes, until squash is soft all the way through when poked with a fork, and a little brown around the edges. Allow to cool slightly, then scoop seeds out with a spoon and discard.

Heat a little olive oil in a large saute pan over medium heat. Add bacon and saute until sizzling and cooked through. (Don’t worry about getting it crisp, as it will all be pureed in the end.) Remove bacon with a slotted spoon and place onto a plate lined with a paper towel. Pour off all but one tablespoon of bacon fat.

Add  shallots, celery, carrots, and garlic to pan and saute over medium heat, stirring with a wooden spoon. Add a little olive oil if necessary to prevent burning. Add salt, pepper and red pepper flakes and cook for about 10 minutes until vegetables are softened and just beginning to brown. Add sherry to deglaze pan, stirring with a wooden spoon to scrape up brown bits from the bottom of the pan. Cook for a minute or two to allow alcohol to burn off. Transfer mixture to a large pot.

Add beans, bacon and rosemary to pot and cook over medium heat for 1-2 minutes to allow flavors to meld. Add all the stock to the pot, raise the heat and bring to a simmer. Cook for about 10 minutes, and then turn heat off, allowing mixture to cool slightly.

Using a spoon, scrape the flesh of one half of the roasted squash from its skin and place it into the bowl of a food processor. Ladle a few spoonfuls of the soup mixture on top of the squash and blend until smooth and then return pureed mixture to the soup pot. Repeat until all the soup and squash have been pureed. If you have a hand-held immersion blender, lucky you, you can skip the food processor and just blend it all together in the soup pot. If you want to make the soup ahead of time and freeze it, stop here, and follow the final steps just before serving.

Heat pureed mixture over low heat. Mix in the half and half and stir to combine. Add more broth and/or half and half to achieve desired consistency. Add salt and pepper to taste.

Savory Shortbread with Sun-Dried Tomatoes and Thyme

These little riches were inspired by Rhode Island chef and caterer, Chris Whirlow. I had his savory olive shortbread at a party and asked him for the recipe. (He calls them “Scourtins aux Olives de Nyons”, which I must admit sounds way fancier, but I like the simplicity of shortbread.) I decided to swap the olives for sun-dried tomatoes and thyme to complement the flavors of my soup.

1/2 cup unsalted butter, room temperature
1/4 cup powdered sugar, sifted
1 tablespoon extra-virgin olive oil
2 cups all-purpose flour
1/4 cup sun-dried tomatoes, finely chopped (I used the kind that come in a jar with olive oil, and left them pretty wet with oil. If you’re using the dried out variety, you’ll want to reconstitute it first, and may need to add some extra fat.)
1 tablespoon fresh thyme leaves, chopped
1 teaspoon sea salt

Cream  butter and sugar. Drizzle olive oil and mix in with a wooden spoon or rubber spatula. Stir in the flour by hand just until the dough is smooth. Add the sun-dried tomatoes, thyme and salt and stir just until they are evenly
distributed throughout the dough.

Dough will be a little crumbly. (Ok, at this point in the recipe, I must fess up. Chris’s recipe said the dough would be a little sticky and my plan was to roll it into a log, freeze it, and slice and bake. Sounds easy, right? But my dough wasn’t a little sticky. It was a lot crumbly. Probably because I converted his recipe from weight measurements since I don’t own a kitchen scale. It’s on my Christmas list! If you are a better baker than I, you can probably tweak this recipe back into shape. But the crumbly version was really good too, so I’ll call it a happy accident.) Press the dough into a baking pan, using your fingers to make it hold together and to get an even thickness. I used 9″x12″ pan. A little larger would be okay for thinner shortbread. Cover with plastic wrap and refrigerate the dough for at least 45 minutes, or overnight.

Preheat the oven to 350 degrees. Bake for about 15-20 minutes, until ever so slightly brown around the edges and evenly dry on top. Allow to cool for a few minutes and cut into squares. As you can see in my photo, I didn’t end up with perfect squares, but the rustic-looking crumbly shapes were okay with me. Now you know the truth about why I couldn’t give them a fancy name like “scourtins”. Whatever you call them, they taste pretty delicious dipped in soup, with a fire in the fireplace and some good friends to be thankful with.